Validation
Doculicious provides a couple of ways to ensure that data entered into your form is of the correct type: List validation and Numeric validation. Both of these can be accessed when you are working on a template, and have an element selected. The "Validation" menu will appear in the left menu after selecting a Text Box. The "Validation Type" property defines how you want to validate the information entered. The default is "Any", meaning that any information can be entered. The three options are described below.
Any Validation
This will allow any text to be entered into the text element. However, you can limit the number of characters that can be entered by using the "Max Chars" property. By entering a number in this property, the system will limit the user to entering that many characters.
Numeric Validation
By choosing "Numeric" as the validation type, the system will limit the user to entering only numeric characters and one decimal point. You can also use the "Max Chars" property to limit the number of characters they can enter as well.
List Validation
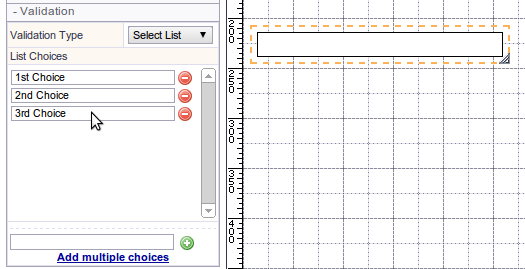
List Validation lets you define a list of valid options that the user can choose for your text element. This will create a standard select drop down as seen on HTML forms. To use the list validation, make sure a Text Box Element is selected, and then change the validation type from "Any" to "List".

A default list of three choices will be entered for your validation list. You can edit these by typing directly over their names, or clicking the red minus button (![]() )to delete individual options. You can add more by typing into the empty text box and clicking on the green plus icon (
)to delete individual options. You can add more by typing into the empty text box and clicking on the green plus icon (![]() ). Make sure that you save after editing the text or adding a new option. Also remember that you can undo or redo any of these changes.
). Make sure that you save after editing the text or adding a new option. Also remember that you can undo or redo any of these changes.
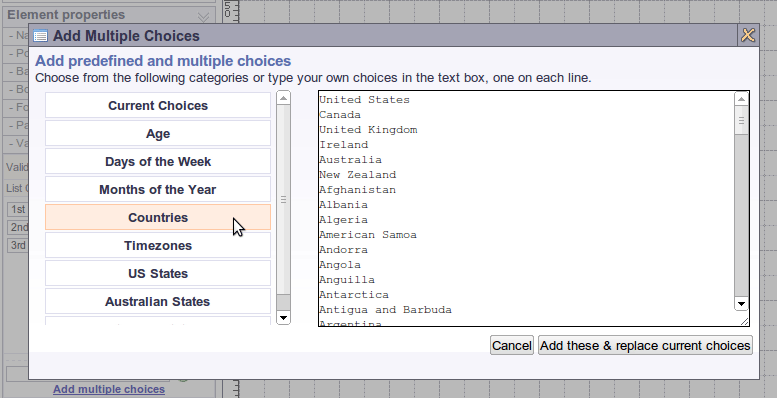
To change or add multiple options at once you can click on the "Add multiple choices" link. This will open up a dialog box with a text area where you can type all the options you want, one on each line. There are also a few common lists available to make this faster. You can edit your existing options by clicking the "Current Choices" item and then changing the options. When finished, click on the "Add these & replace current choices" button.
To test the drop down box in the tempate editor, you can double left click on the text element. This will show the drop down and allow you to choose an option.
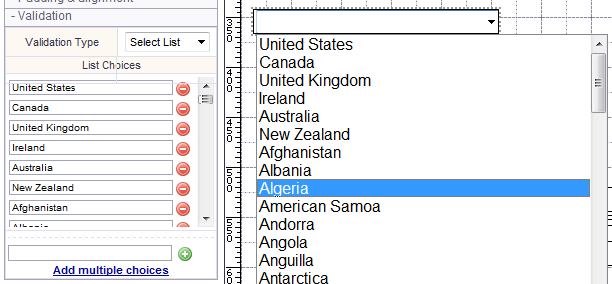
Once you choose, the option selected will display in the text element as it's value. If you go and look under the "Name, Value & display" left menu section you will see that the "Display Text" property will contain the option you chose.
